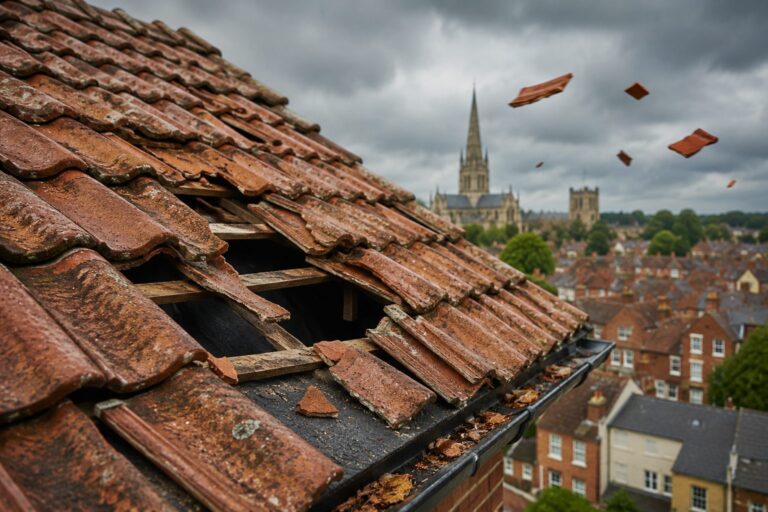

Speak to anyone who’s owned a home for a while, and they’ll tell you: the roof is the part of the house you never want to ignore. Sure, we all notice broken slates or a slipped tile now and then, but it’s often the hidden bits, the ones you don’t think about that end up saving your bacon. Roof flashing? That’s one of those unsung heroes. Let it fail, and you’ll quickly learn just how much trouble a bit of water can cause.
Let’s break it all down: What exactly is roof flashing? Why does it matter? How can you spot early warning signs, and what’s involved in putting it right? Plus, we’ll chat about why, when it comes to repairs, calling in a pro is usually the best decision you’ll make.
What Exactly Is Roof Flashing and Why Should You Care?
Picture your roof as a big protective shell. Roof flashing is the clever bit that keeps rain from sneaking past the shell’s weak spots, places like corners, edges, or anywhere two surfaces awkwardly meet. Usually it’s a slim strip of metal, bent and tucked along joints, poking up around chimneys, or framing out skylights and vents. If you’d never noticed it before, you’re not alone, it’s meant to blend in, quietly doing its job.
So, where does it hide? You’ll spot (or not spot) flashing:
- In roof valleys: those grooves where two sloped sides meet and water naturally funnels
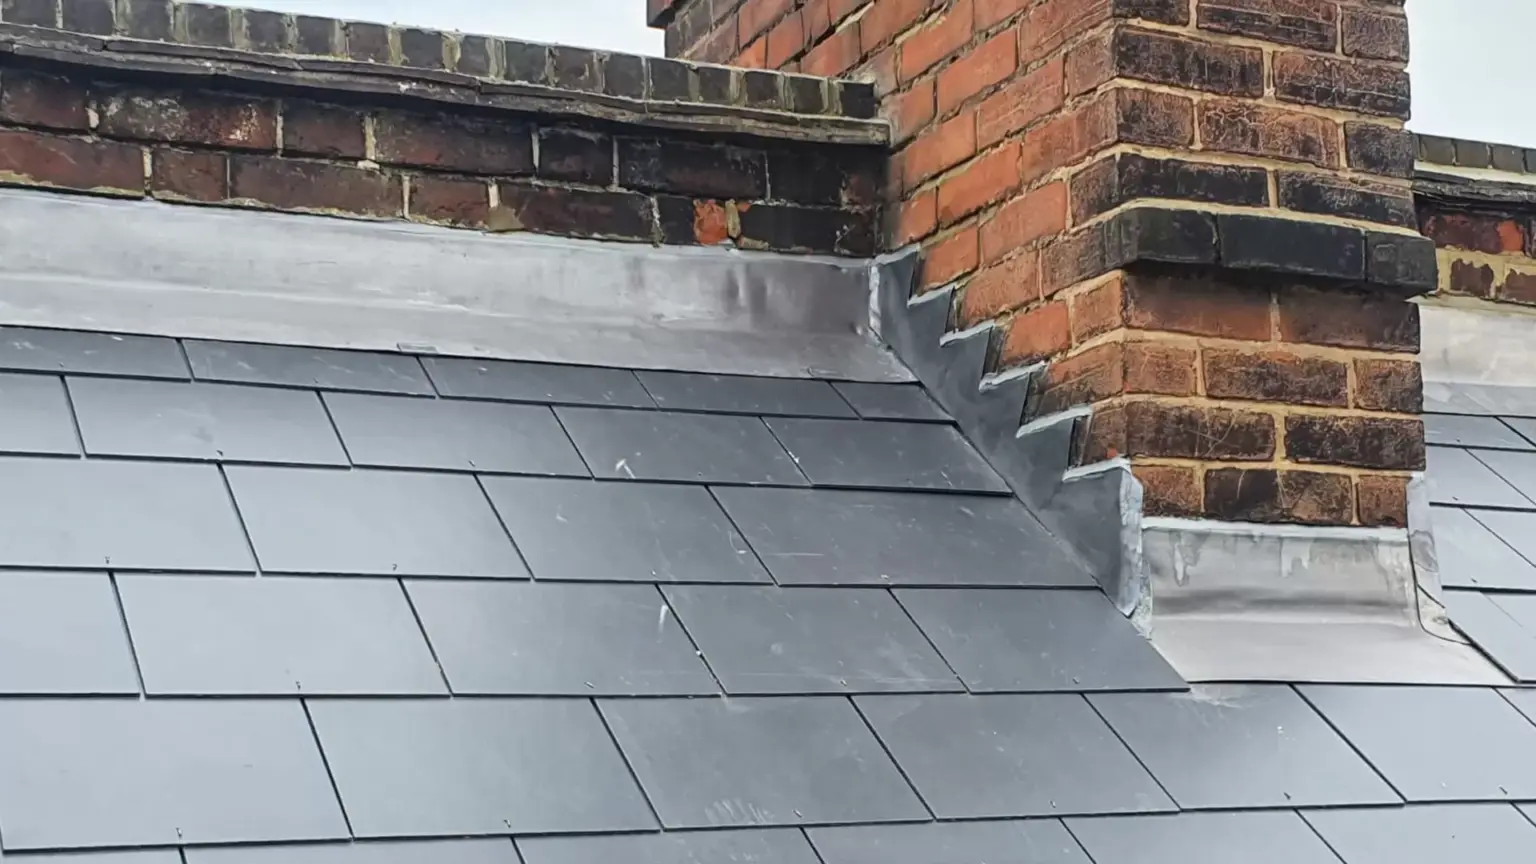
- At the base of chimneys: a notorious spot for leaks that usually has lead flashing
- Around skylights and roof vents: sealing the edges where glass or pipes poke through
- Along dormer windows: tucking neatly up the sides and across the top
- Where the roof meets a wall: like on an extension or the side of a taller building
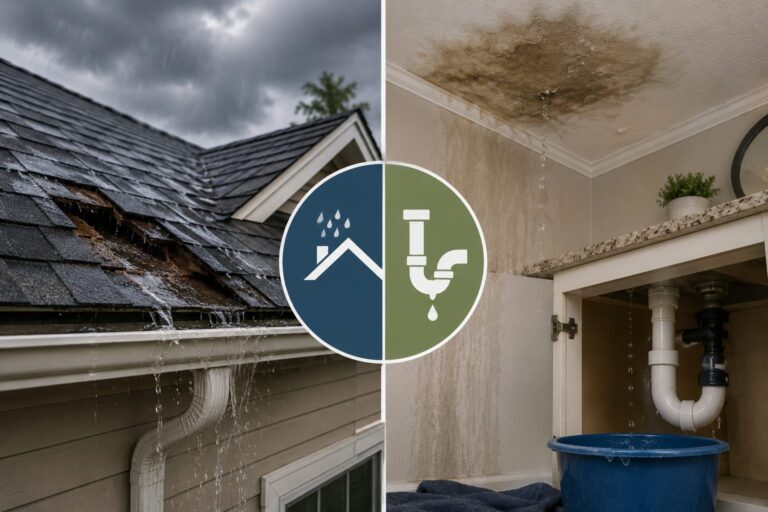
When flashing’s working, rainwater gets the nudge in the right direction, straight down and off your roof, not into your loft or walls. Without it, water finds the path of least resistance and, trust me, it’s always straight into the bits you can’t easily see. Damp wood, creeping mould, rotten rafters, none of it happens overnight, but over the years, missing or damaged flashing can lead to repairs no-one wants to pay for.
The Main Materials Used For Roof Flashing
There’s more than one way to flash a roof, and the material makes a big difference in how tough, long-lasting (and spendy) your flashing is.
Lead
This is the traditional favourite, still found on countless British roofs for a reason. Lead is heavy, bendy, and shrugs off weather that would shred lesser metals. Once it’s in, it pretty much lasts a lifetime, sometimes a century or more. It’s also easy to shape around awkward corners, valleys, and chimney stacks, so you get a watertight seal all round. True, it costs a bit more, but its lifespan and reliability make it a sound investment for most homeowners.
Aluminium
Aluminium is becoming increasingly popular, lighter in weight, easier to install, and doesn’t rust like mad if it gets scratched. You’ll usually see it coated or painted for extra weather protection, and it fits into most budgets without too much fuss. Expect about 20-30 years of life from aluminium flashing, less than lead, but a good trade-off for many modern roofs.
Copper
Ever seen a copper-roofed building with that distinctive green tint? That’s what copper flashing looks like after a few years. It’s tough as they come, resists corrosion, and brings a bit of old-world charm to period homes or high-end builds. It’s very pliable, great for intricate details but does come at a premium price.
Galvanised Steel
Steel flashing, treated with a zinc coating to keep rust at bay, makes for a decent, budget-friendly option. Downside? If the coating gets scratched (easy to do when shifting tiles), rust starts to creep in. Not as long-lived as the pricier metals, but it does the job if checked often and repaired when needed.
How To Tell When Your Roof Flashing Needs Some Attention
The sooner you spot a flashing problem the better, otherwise that drip or stain on your ceiling could turn into a much bigger headache. Here’s what to keep an eye out for:
Telltale Leaks and Water Marks
Nothing says flashing trouble like mysterious stains on upstairs ceilings, trickles in attic spaces, or drips near chimneys and windows after a downpour. In British homes, these often trace back to failed flashing rather than missing tiles.
Signs of Rust or Corrosion
Binoculars are your friend here, inspect the metal strips around roof features for any hint of orange-brown rust, flaky spots, or odd discolouration. Once corrosion sets in, the metal’s no longer a proper barrier.
Gaps, Cracks, or Bits Sticking Up
High winds, hail, or just time itself can lift flashing or crack it along bends. If you spot any part that’s lifted, gapped, or clearly broken, the next heavy rain could push water straight through to the wood below.
Dried Out or Split Sealant
Occasionally, the flashing might be sound but the sealant holding it in place is giving up the ghost. If it’s looking cracked, loose, or missing altogether, water can sneak into places it has no business being.
What Actually Happens During a Roof Flashing Repair?
Wondering what’s involved when your roofer comes round? Here’s what typically happens:
- Inspection comes first: A savvy roofer doesn’t just patch the obvious, they’ll check all the key roof joints, valleys, and features because a problem in one spot often hints at trouble elsewhere.
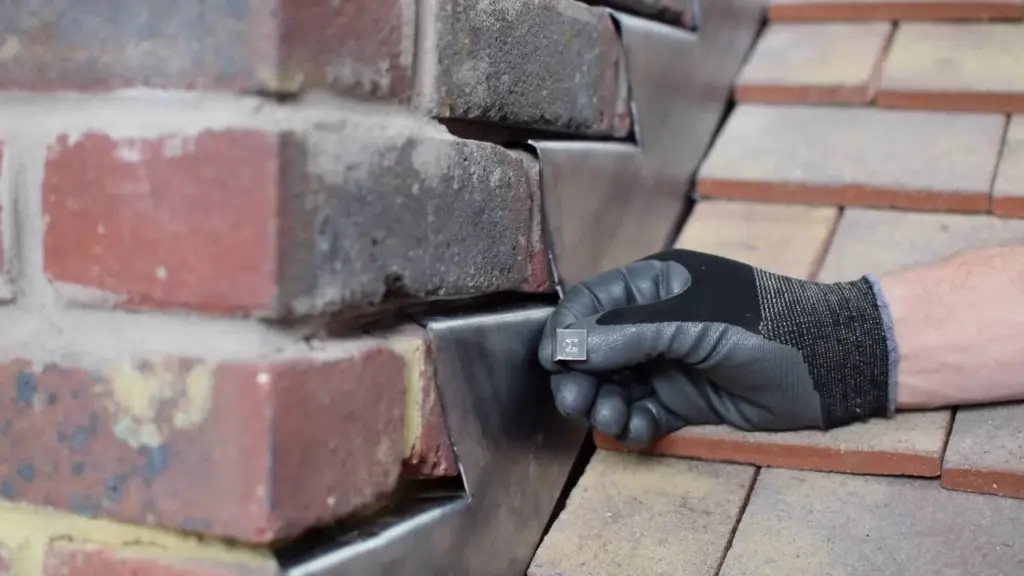
- Out with the old: They’ll peel back surrounding slates or tiles to get at the flashing, then carefully take out any knackered (damaged) metal and clear off any old gloopy sealant or grit. If any woodwork underneath is damp or rotting, that needs sorting out too.
- In with the new: New flashing (shaped to measure on site) replaces the bad stuff. Sometimes it’s a simple straight piece, but around chimneys or at intersections you might find overlapping sections or stepped flashing for extra protection.
- Proper sealing and re-covering: Everything’s sealed up tight with modern, durable mastic or mortar before the tiles or slates go back on. The trick is always making sure the new setup sends water away from joints, not towards them.
How to Help Your Roof Flashing Last Longer
A couple of easy habits will keep things shipshape for years:
- Give it a once-over, twice a year: From the ground, look for loose strips or discoloured areas, spring and autumn are perfect times.
- Clear away leaves and moss: Anything that blocks water or holds damp against the flashing will speed up rust. Clean gutters matter too.
- Check sealant is sound: If you notice it flaking or pulling away where metal meets masonry or tiles, get it seen to before it lets in water.
Trim back nearby trees: Overhanging branches can scratch metal or drop leaves into valleys, trapping water right where you don’t want it.
Should You DIY Flashing Repairs or Call in a Pro?
Rolling up your sleeves and heading up a ladder sounds tempting (especially if you’re handy), but with flashing repairs, there’s a lot more risk than meets the eye. Not only are you working at height (never worth risking it alone), but bodged repairs often leave leaks brewing under the surface, only to pop up again during the next big storm.
Professional roofers make it look easy because, frankly they’ve seen it all before. They know how to track down the true source, use the right materials, and get the layers right so any fix is actually watertight and good for years. Plus, most will guarantee their work and do things up to scratch with building regulations, so you’ve got extra peace of mind.
All in all, paying for a proper flashing repair is rarely wasted. You’re saving yourself repair bills, hidden damage, and the headache of fighting leaks every winter. When it comes to the roof, it’s often wise to leave it in the hands of someone who’s up there all the time.